Horizontal sub-menu items or Mega Menu is basically a larger drop-down menu than the regular one, allows you to add custom multi-column drop-down menus to your navigation, and display more information with rich media such as images, videos, widgets, etc. See example:
In this post, we are going to share with you one of the best WordPress plugins to create custom and beautiful horizontal sub-menus for your blog, portfolio, or ecommerce site, as well as a quick step-by-step tutorial on how to do it, in just a few minutes.
Why Mega Menu?
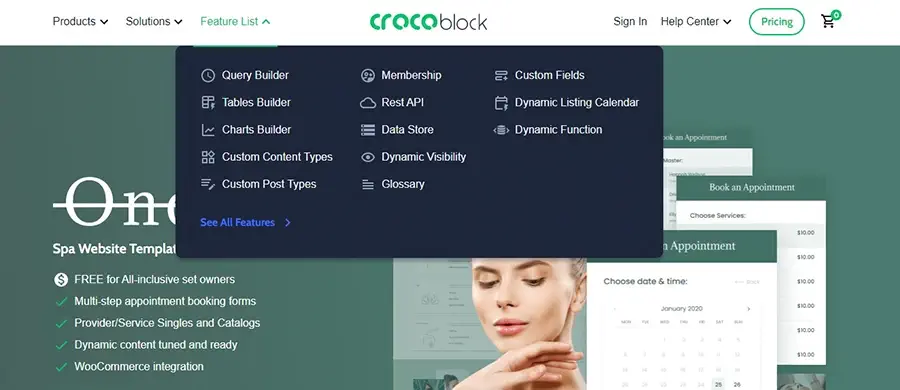
Giants and popular sites like BuzzFeed, Staples, Samsung, Adidas, Walmart, Figma, Amazon, Brasnthings, Reuters, Evernote, Moosejaw, and Starbucks are using the Mega Menu to catch the customers’ attention and also help them quickly navigate the site.. and that is 2 more reasons why you should use a mega menu instead. So, if you want to upgrade your website navigation, a Mega menu plugin is all you need.
How to easily add a Mega Menu to your WordPress site
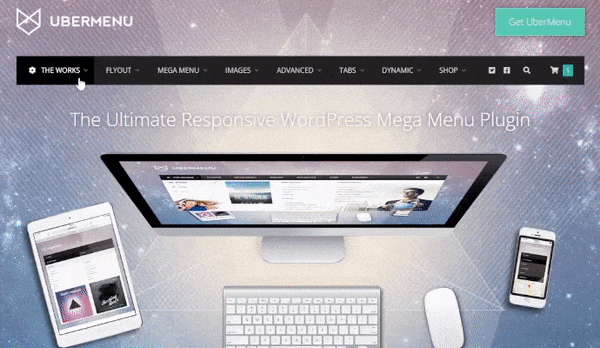
By default, there’s no core support for mega menus in WordPress, but fortunately, building awesome mega menus becomes super easy with the UberMenu WordPress plugin, one of the best-selling Mega Menu plugins. Its full grid built-in system and individual layout control, allow you to easily build gorgeous mega menu layouts. The best alternative for Max Mega Menu.
Why Ubermenu?
Here are the most notable features of the UberMenu plugin
- User-friendly
- Responsive layout
- Compatible with Mobile devices
- Touch-enabled (for an enhanced mobile experience)
- Easy to use/Customize
- Fully Configurable
- Advanced Submenu Layouts
- Dynamic/Interactive Items
- Advanced Content
- WooCommerce Compatible
- Integration Options
What elements can I add with UberMenu?
Organize your site content by adding:
- Media (images, videos…).
- Maps.
- Products.
- Search bar.
- Widgets.
- Descriptions.
- Posts.
- Grids.
- Tabbed content.
- Shortcodes.
- Contact forms.
- Custom HTML.
- Icons.
- Badges.
- and more.
Tutorial on how to create a Mega Menu using UberMenu
After downloading UberMenu, in your WP dashboard:
- Go to Plugins → Add New → Upload Plugin.
- Once installed, click the button to activate it.
- Now, navigate to Appearance → Menus.
- Click Create a new menu.
- On the left, you’ll find all available menu items (there are also UberMenu items at the bottom).
- Choose the item, and click add to Menu.
- In the Menu Settings, choose the menu locations (often Primary Navigation).
- Click Save Menu.
That’s it. Here is a video tutorial just in case:
Keep in mind: In order for the plugin to work properly, you need to use a theme coded to WordPress standards (theme example) and have the WordPress 5.0+ version installed.
Is UberMenu free?
No, there is no free trial or free version of UberMenu. Their regular license costs $26, a one-time fee, with future updates and 6 months of support from Sevenspark included. You can also extend the support to 12 months for an extra fee.
Is there a discount/promo code for UberMenu?
Unfortunately, no. There are no discounts or promo codes for the UberMenu plugin at this moment. But they do offer some discounts from time to time, you can always double-check that on their page.