Have you ever seen Animevibesradio, Dashducks, Wolfconservationcenter, QuranAlwaysOn, LeekBeats, Fire_Kitchen, Japan_ASMR, SixtySevenRadio, NoCopyrightSounds, Kubomusic, SpaceToonNetwork, or Hoothouselivestream? Yes, these are Twitch channels put on a continuous non-stop live stream.
In this guide, we’ll show you how to connect and stream 24/7 on Twitch in 3 simple steps, and run whatever you want on it, whether It’s a music radio, videos channel, news channel, TV channel, or live animal cam.
How to set up your 24/7 Twitch Live Stream
To run a continuous live stream on Twitch, simply follow these 3 steps.
Step #1: Sign up for a VPS
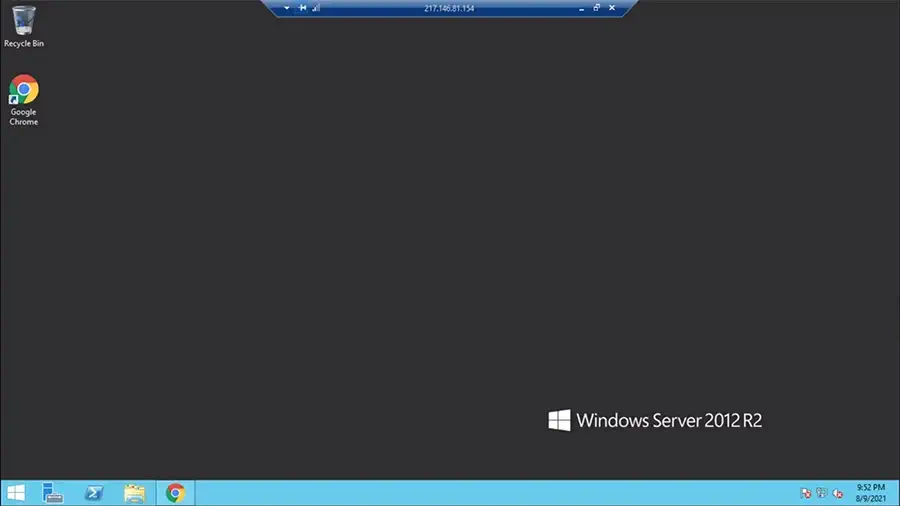
A VPS (Virtual Private Server) is simply a virtual computer with high internet speed, running 24/7 continuously with no internet interruptions or computer shutdowns. And can be accessed remotely from your actual computer with a login and password.
In this case, we are gonna be using a Windows VPS, since not everyone is familiar with the Linux system.
Windows VPS is normally more expensive than Linux VPS, but we have found an affordable one that meets all of the streaming criteria. A good alternative for Contabo in every aspect.
We have a dedicated guide on how to buy and set up your Windows VPS, in less than 1 hour.
Note: Your live stream will keep running even if you close/disconnect from your VPS.
Now, it’s time for step #2.
Step #2: Download and setup Streamlabs
After you access your Windows VPS using the remote desktop app, let’s download Streamlabs.
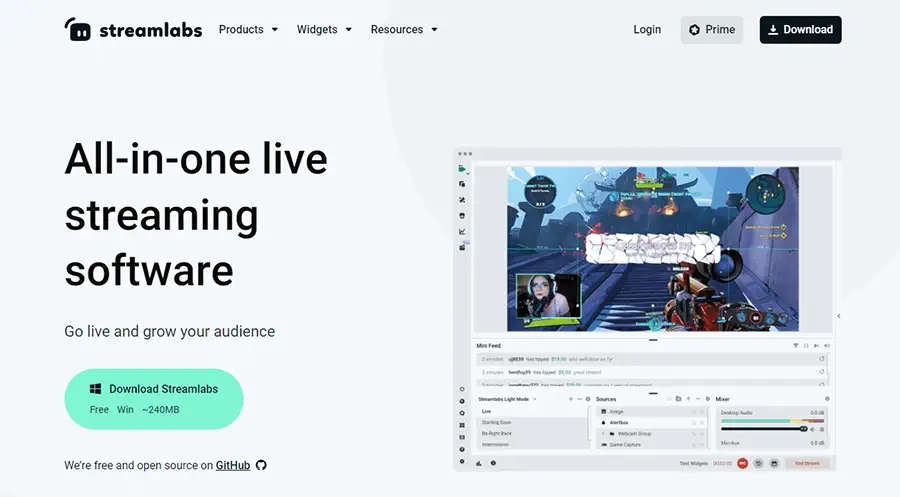
Streamlabs has become one of the most popular streaming software out there. It is easy to set up and use with several social media platforms Like YouTube, Twitch, and Facebook. Streamlabs allows you to set up your scenes (pictures, videos, texts, camera, microphone, audio, and more..) before starting your stream.
If you are not familiar with Streamlabs, follow these easy steps to create your first streaming scene.
- After installing Streamlabs, open it.
- Click the + button near the “Scenes” section, and name it “First scene” for example.
- Now, click the + button to add a “Source” (Image, Text, Media Source for videos… etc) from the pop-up menu.
- For the audio, you can choose in the “Mixer” section. Desktop Audio (your computer’s audio output) or Mic/Aux (your microphone)… by clicking the speaker icon to enable it.
- That’s it, your streaming scene is ready.
Note: Every element or source you add in Streamlabs will be visible in the preview.
Step #3: Launch your stream
Now let’s set up Streamlabs settings, grab the stream key, and launch the stream.
Twitch recommends the following settings, depending on your PC specs:
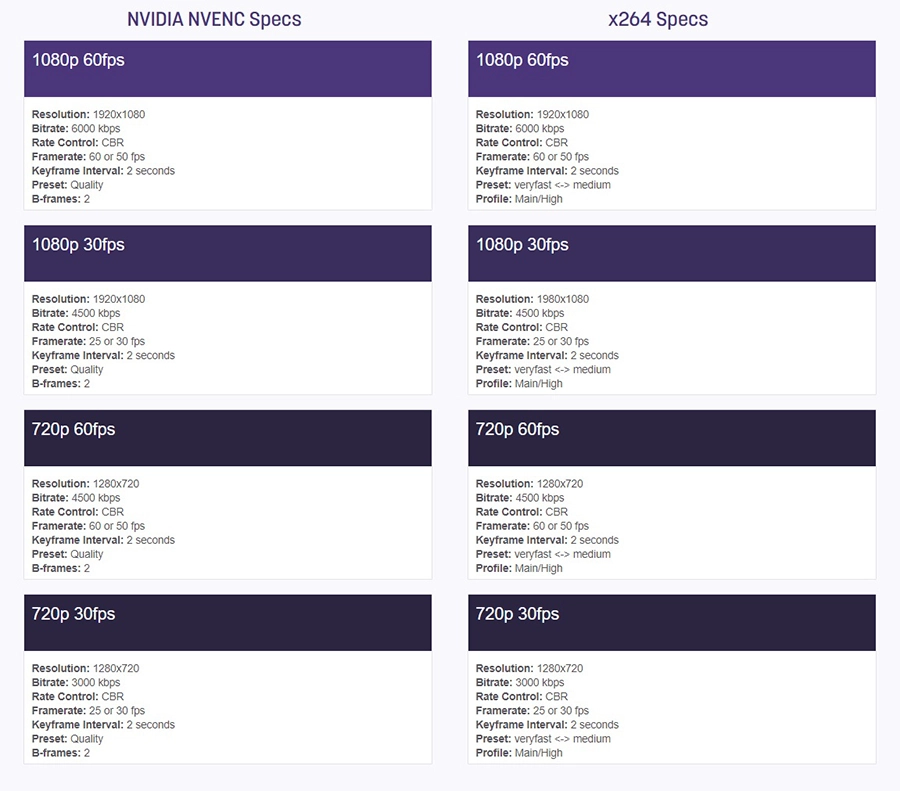
But, in our case, for a 720p HD quality stream, we are gonna use the following settings:
- Go to Streamlabs settings (bottom left)
- Head to “Output”, make the Video Bitrate 3000 Kbps, Audio Bitrate 160.
- Navigate to “Video”, choose 1280×720 in both resolutions, and 30 in Common FPS Values.
- Now, go to “Stream” → “Stream to custom ingest.”.
- Select the platform you’d like to stream to (Twitch).
- Paste your stream key.
- Save your settings.
- Finally, click the “Go live” button to start the stream.
The Twitch stream key is the key that links your streaming software to Twitch. To find yours, go to your Twitch dashboard → Settings → Stream → Primary Stream key → Copy.
Keep in mind: You can also run a 1080p Full HD stream, by changing the resolution to 1980×1080, the video bitrate to 4000 Kbps, and the FPS to 60.
That’s it, congrats on your 24/7 Twitch live stream.
If somehow you are stuck somewhere, or something doesn’t seem right.. just put your question in the comments, we’ll be glad to assist you.