If you are new to WordPress, this guide will be very useful to you.
Jump to:
1. Picking WP theme
2. Installing WP theme
3. Customizing WP theme
1. Let’s start by picking the right WP theme
Most beginners feel overwhelmed when it comes to choosing a WP theme. There are tons of free and paid options out there. Each theme looks better than the other.
Here are the important things to consider when selecting a WP theme:
- Responsivity (Adjusting Screen Resolution to fit any screen size whether it’s mobile, tablet, or desktop).
- Simplicity (Simplicity is the keynote of all true elegance).
- SEO Friendliness (For those who want to have traffic from Google, Bing, and other search engines).
- Page speed (For the best user experience / SEO practices).
- High customization options (To do anything you want).
- Support (When you need help).
The 2 last options often come with a premium WP theme.
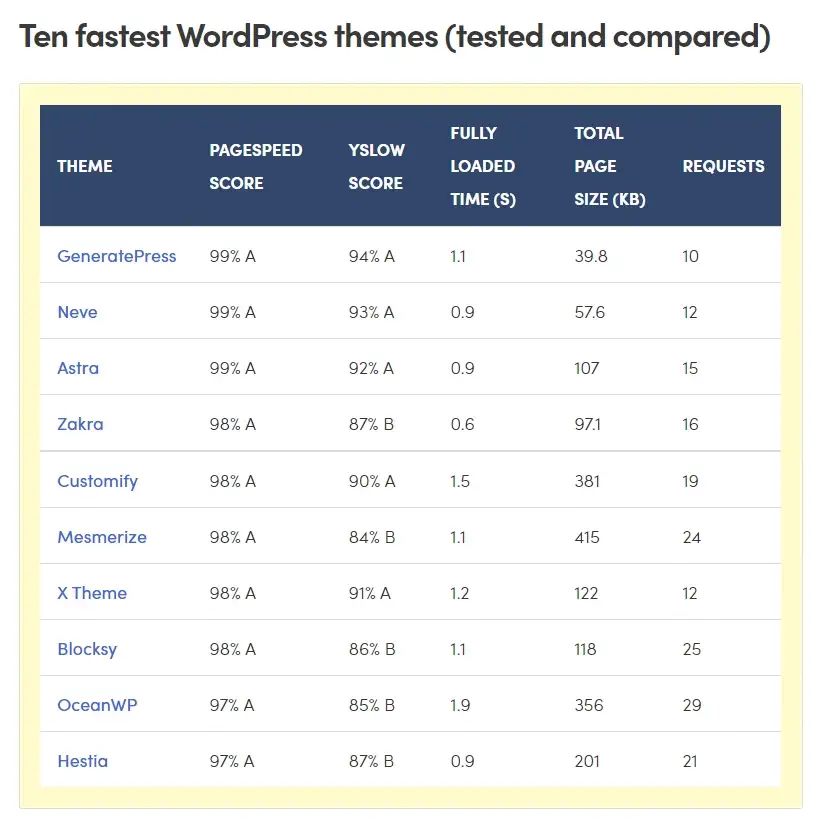
Our recommendation is GeneratePress. Responsive, simple, SEO friendly, and tend to be the fastest WP theme according to our experience, and other expert’s statistics:
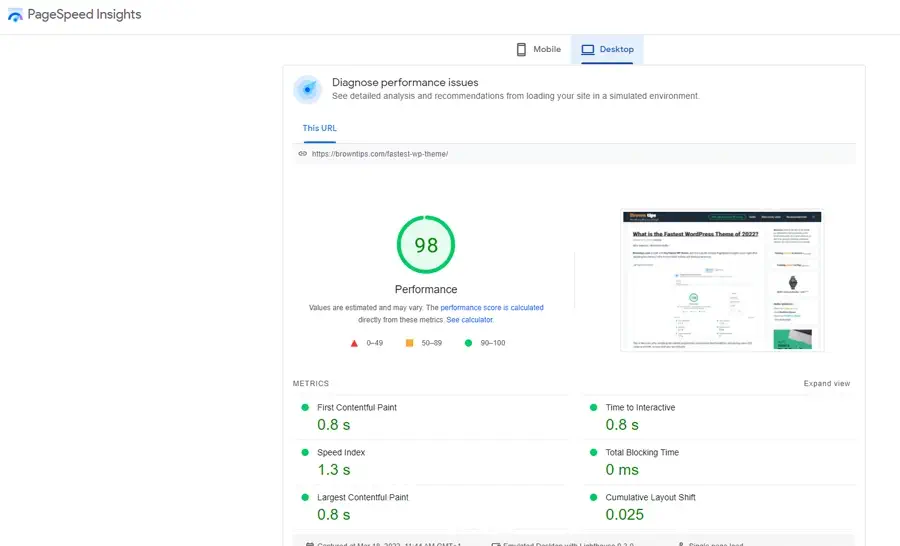
This is our (browntips.com) google page speed insights score, a highly customized website, and still very fast though.
It also comes with a premium version for more awesome features, customization, starter site templates, and support & updates.
Is there a discount or promo code for the GeneratePress theme?
They actually do offer some discounts from time to time, but not at the moment. GeneratePress stated that there are no discounts or promo codes available at this time. And if somehow a discount code is offered, it will be displayed at the top of their site.
But for now, let’s go with the free version.
Keep in mind: The customization process is the same as for the premium version.
2. Installing your WP theme
To install your WordPress theme, simply:
- Head to your WP dashboard
- Hover over Appearance and click Themes
- Click Add New
- Search for “GeneratePress”
- Click Install, when finished click Activate
And that’s it. To check the new look, hover over your site’s name (top left) and click Visit Site.
3. Customizing your WP theme
Your website’s first look now should look like this:

#1. Add your header Logo
- Always in your WP dashboard, hover over Appearance and click customize.
- Click Site Identity (You’ll see a textbox where you can write your site’s name or anything you want and a Select box where you can upload your Logo).
The recommended GeneratePress Logo size is: 200x50px.
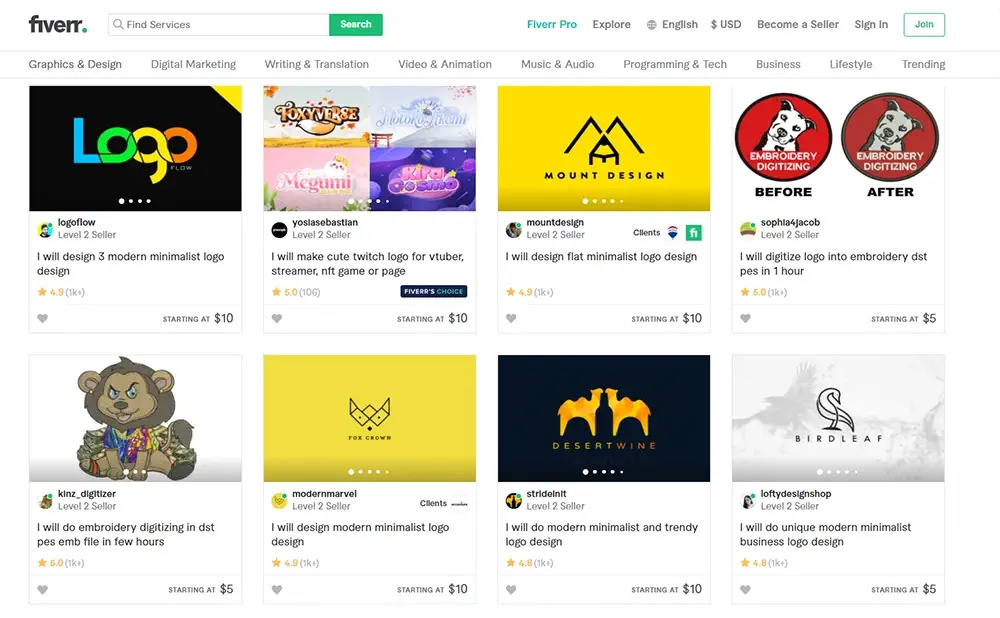
If you are not very familiar with Logos creation, you can simply put any text there, or head to this Fiverr freelancer, he will design 2 professional logos for you, for just $5.
#2. Add your header Menu
- Go to your WP dashboard, and navigate to Appearance → Menus.
- Name your menu (for example “Header Menu”) and hit Create Menu.
- You can now add Pages, Posts, Categories, and Custom Links to the menu.
- You can also add sub-menu items, just drag and drop the sub item (after adding it to the menu) under the parent item.

- Choose where it will appear (Primary Menu).
- Save your menu.
- That’s it! Now you’ll be able to access these added pages from your header menu on your website.

#3. Add Categories to your WP Website
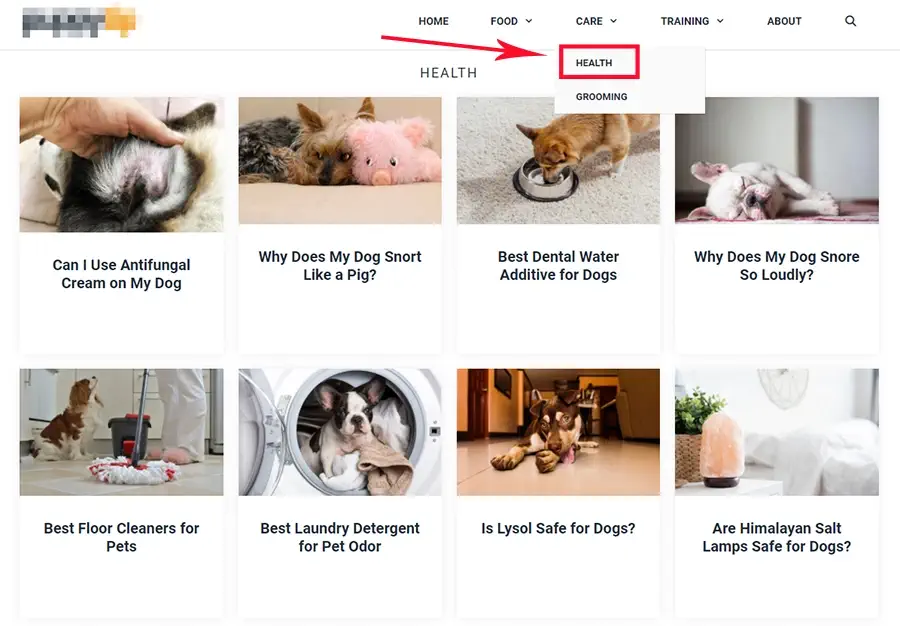
Categories are a way to sort and group your posts or pages into different sections (e.g News, Videos, Shopping, Lifestyle, Culture.. etc).
This is an example, “Dogs Health” category, regrouping all the related posts:
- Navigate to Posts → Categories.
- Name your Category.
- Give it a URL (Slug), browntips.com/slug (usually it’s the same as the category name).
- Select a parent category if there is any (Example: Sport, a parent of Soccer or Basketball).
- Add a description (optional).
- Click Add New Category.
- That’s it! Now when creating a post or a page, you can assign it to any category.
#4. Add / Customize your WP Sidebar
- Go to your WP dashboard, and navigate to Appearance → Widgets.
- Now click the Plus button to add elements (Texts, images, links, videos, buttons, etc..) to either your right sidebar or left sidebar.
- Click Update.
Now you’ll be able to see your Sidebar on your website if anyhow you can’t see it… Head to Appearance → Customize. On the new page, navigate to Layout → Sidebars. Select your sidebar, and click Publish.
#5. Add Pages / Posts
The difference between Pages and Posts in WordPress is that pages are used for static content, whereas posts are for content that is frequently changed and updated.
- Navigate to Posts → Add New, or Pages → Add New.
- Enter your post/page title in the upper field.
- Enter your post/page body content below your title field.
- Click Publish when finished.
Tip: To have more structured and organized content, use the WP blocks by clicking the Plus button. For a title, pick Heading. For a text, choose Paragraph. For a picture, use Image.. etc.
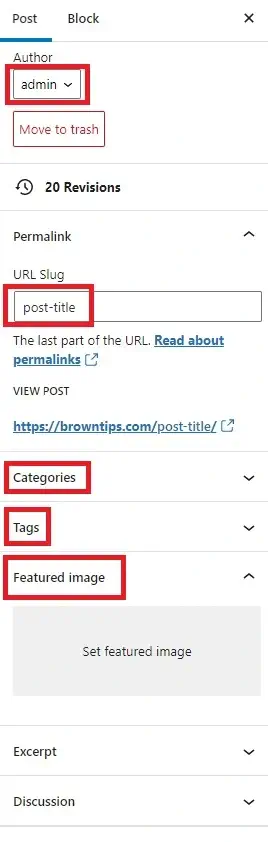
In the right section, here are the main elements to set:
- The post’s author
- The URL Slug
- The category
- Tags
- Featured image (the image that appears on your blog for that post)
Please, if you want to customize anything else that is not mentioned in the tutorial, just leave your question down below, we’ll answer you as soon as possible.