Have you ever seen the Lofi Girl Radio on YouTube (AKA ChilledCow), the Coffee Shop radio, or The bootleg boy? Yes, these are Lofi Hip Hop music put on a continuous non-stop livestream on YouTube.
And today, we are gonna share with you a beginner-friendly tutorial, so you can set up your own 24/7 radio stream in just a few hours, and run whatever you want on it, whether It’s music, videos, news, live animal cams, a TV channel.. etc.
What is live streaming?
Livestreaming, Continuous streaming, Non-stop streaming, or simply Streaming, is a technology that lets you watch, create and share your media (video, audio, or both) over the Internet in real-time (simultaneously recorded and broadcast) without having it stored. It can be found on social media platforms like YouTube, TikTok, Facebook, and Instagram.
How to set up your 24/7 YouTube Live Stream
Step #1: Prepare your VPS
If you never heard of a VPS, don’t get scared.
What is a VPS?
A VPS (Virtual private server) is a virtual machine with an operating system installed (Linux often, or Windows) sold as a service by a web hosting company, it can be used for example to host your Website, and store your files. You can access this virtual machine remotely in the “Remote Desktop Connection” application, from your computer.
In our case, we are gonna be using a VPS to host our Livestream Radio and keep it running 24/7 with no internet interruptions or computer shutdowns.
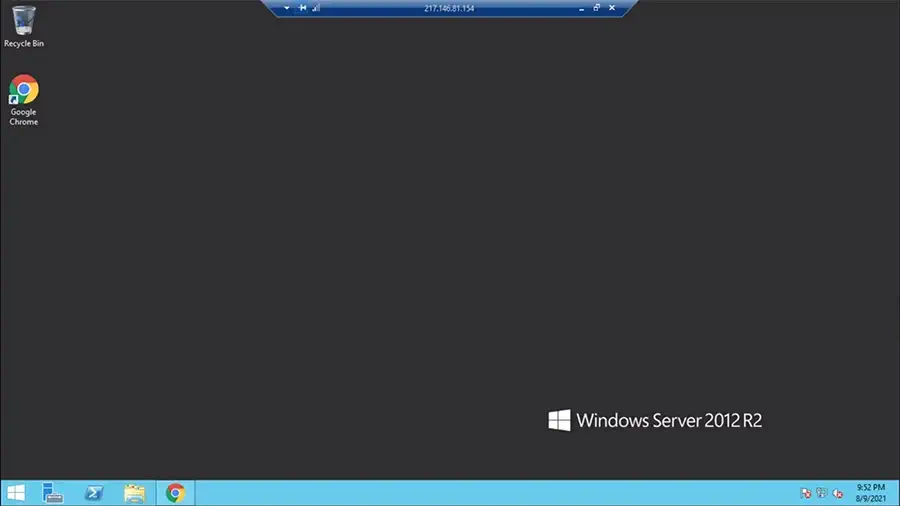
What does a windows VPS look like? This is what it looks like (exactly just like your computer, no difference):
Which VPS to use for a YouTube 24/7 livestream?
Since not everyone is familiar with the Linux system, we are gonna be using a Windows VPS.
Windows VPS is normally a little more expensive than Linux VPS, but we found an affordable one (Hyonix VPS) that meets all of the streaming needs, after testing and comparing many. Hyonix is a good alternative for Ohbubble too.
Keep in mind: Your programs and applications will keep running with the Hyonix VPS, even if you close it, or log out. And that’s one of the reasons we chose it.
Which VPS plan to choose for a YouTube 24/7 Livestream?
You can have your HD 720p Livestream for only $12/month. If you want a full HD 1080p Livestream you’ll need to go with the $24/month plan (rather than other companies offering you a basic plan for $50 or so). You can even save more by paying annually if you are planning to have your YouTube Radio live for a long period.
There are some free VPS out there, but most of them are Linux, and not very performant. You’ll have some FPS drops, and connection problems, and you’ll have to restart your stream every time It’s interrupted.
Important: If you don’t know how to buy and set up your Hyonix VPS, check out our dedicated easy 5 minutes tutorial.
Step #2: Download and Setup OBS
After you set up and login into your VPS via the “Remote Desktop Connection” application from your computer, let’s download and install OBS.
What is OBS? OBS (Open Broadcaster Software) is a free and open-source software for Live streaming. It helps you to set up your scene and sources (pictures, videos, texts, camera, microphone, logo, music, audio, and more..) before starting your stream.
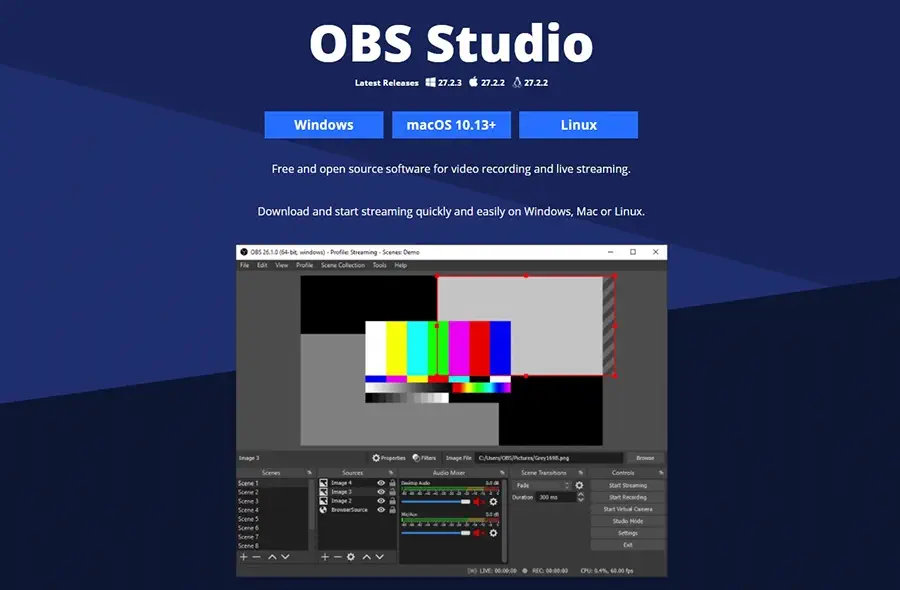
Note: You can also use Streamlabs as an alternative if you prefer.
After downloading and installing it, here are the steps to follow, to set up your radio scene.
- Click the + button under the Scenes section in OBS, and name your scene whatever.
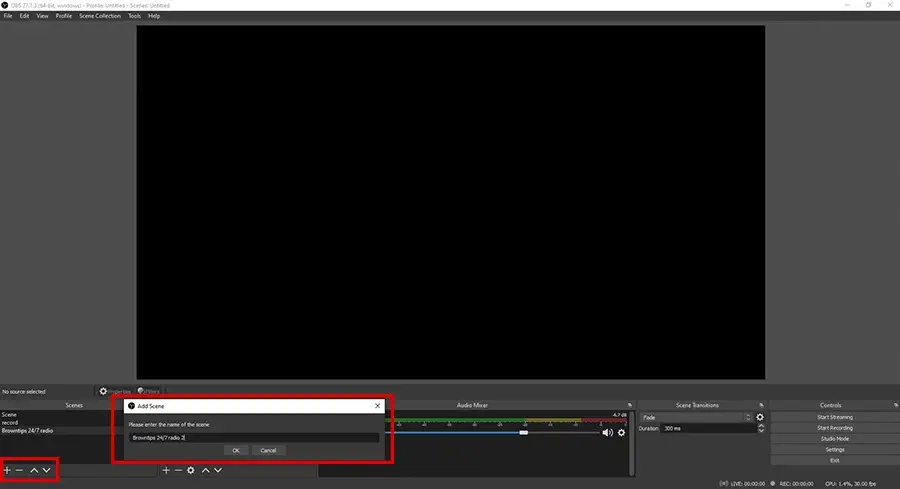
- Under Sources, click the + button, and start adding your scene elements (the main elements are, Image, Text, and Media Source for videos). Any elements you add should be visible in the OBS preview.

- For the music, enable the Desktop Audio by clicking the speaker icon (Desktop Audio means your computer’s audio output will be heard in this OBS scene).

After adding the elements, your scene now should look something like this:
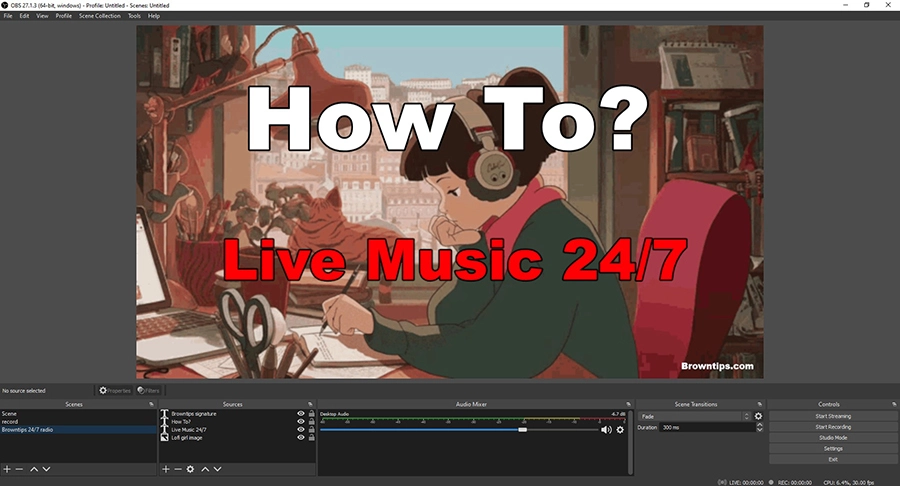
For the background picture, you can put any picture from Google there, if you want a custom animated & looped picture, you might want to check these ones on Fiverr.
Now let’s add some music, for that, you can either use an online music playlist, on Spotify, or Youtube. Or download the songs and play them on a media player software.
It’s better to go with the second method, for the media player, we gonna use VLC (a free open source media player) because it works best for this.
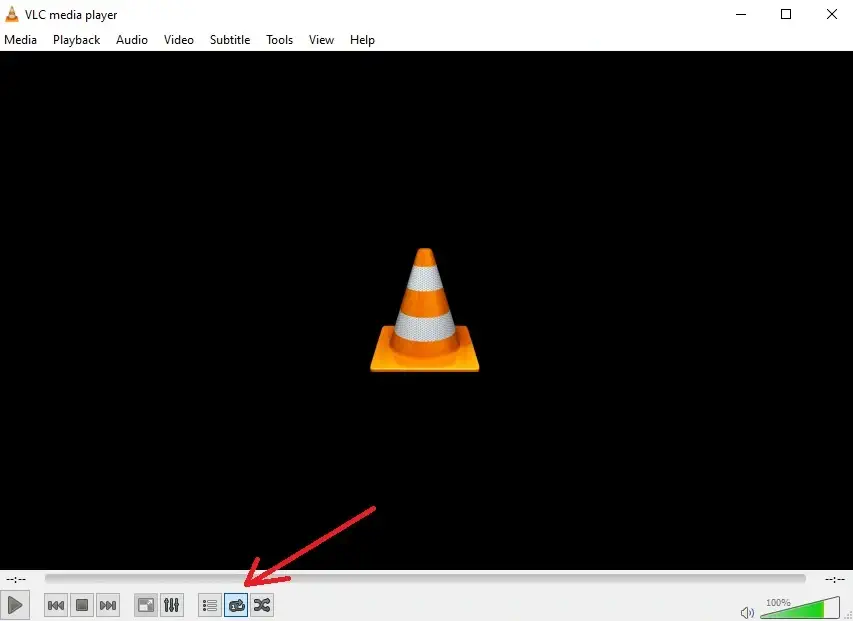
After downloading VLC, open it, click Media > Open Folder, and choose the folder containing all your songs. And to have them in a loop (for a real 24/7 YouTube live radio), just click the loop button in VLC:
Step #3: Start the stream
The last step now is to configure the OBS settings for streaming:
- In OBS, click settings.
- Navigate to “Video”, choose 1280×720 in both resolutions, and 30 in Common FPS Values.
- Head to “Output”, make the Video Bitrate 3000 Kbps, Audio Bitrate 160.
- Go to “Stream”, Choose “YouTube – RTMP” in service, click Use Stream Key and paste your stream key.
- Hit “OK” to save the settings.
A stream key is like the login credentials that link your streaming platform to your streaming software. To get your YouTube streaming key, go to your YouTube live streaming page, under the stream settings section, you’ll find your stream key (you shouldn’t share it with anyone).
On that page, you can also edit your live video’s title, thumbnail, category, tags.. etc, before starting the stream.
And finally, go back to OBS and hit the Start Streaming button.

Tip: I’d recommend keeping your video private when testing the stream, it will be visible only to you, then if everything goes fine, you can make it public.
Summary
- Get a Windows VPS
- Download OBS, VLC, and the songs
- Set up the OBS scene
- Configure OBS settings
- Edit your YouTube livestream infos
- Get your Stream Key
- Start streaming
If somehow you are stuck somewhere, just write your question in the comments, and we’ll try to get back to you that same day.
